Table of Contents
Tips for Preparing Your Garden Tap for a Splitter Installation
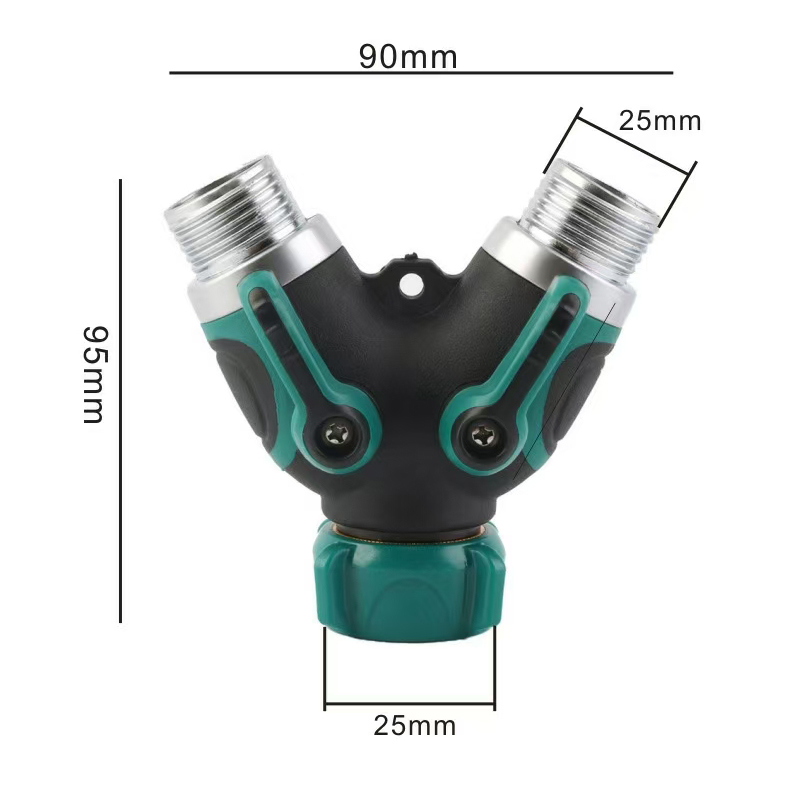
If you’re looking to expand your garden watering capabilities, installing a splitter on your garden tap is a great way to do so. A splitter allows you to connect multiple hoses or watering devices to a single tap, making it easier to water different areas of your garden without constantly switching hoses. However, before you can install a splitter, there are a few steps you need to take to prepare your garden tap.
The first step in preparing your garden tap for a splitter installation is to make sure that the tap is in good working condition. Check for any leaks or damage to the tap itself, as well as the surrounding pipes and fittings. If you notice any issues, it’s best to address them before installing the splitter to prevent any further damage or leaks.
Next, you’ll want to clean the tap and surrounding area to ensure a secure connection for the splitter. Use a mild detergent and a soft brush to remove any dirt, grime, or debris that may have built up on the tap over time. This will help the splitter seal properly and prevent any leaks once it’s installed.

After cleaning the tap, you’ll need to shut off the water supply to the tap before installing the splitter. This will prevent any water from flowing while you’re working on the installation, making it easier to connect the splitter without any leaks or spills. You can usually shut off the water supply to the tap by turning off the main water valve in your home or using a shut-off valve located near the tap.
Once the water supply is turned off, you can begin installing the splitter on your garden tap. Start by screwing the splitter onto the tap, making sure to tighten it securely to prevent any leaks. You may need to use a Wrench or pliers to tighten the splitter properly, depending on the type of tap and splitter you’re using.
After the splitter is securely attached to the tap, you can connect your hoses or watering devices to the splitter’s outlets. Make sure to use the appropriate fittings and Connectors to ensure a tight seal and prevent any leaks. You may also want to use Teflon tape on the threads of the fittings to further prevent leaks.
Once everything is connected, you can turn the water supply back on and test the splitter to make sure it’s working properly. Check for any leaks or drips around the tap and splitter connections, and tighten any fittings as needed to prevent any leaks. If everything looks good, you’re ready to start using your new splitter to water your garden more efficiently.
In conclusion, preparing your garden tap for a splitter installation is an important step in expanding your garden watering capabilities. By ensuring that your tap is in good working condition, cleaning the tap and surrounding area, shutting off the water supply, and properly installing the splitter, you can enjoy the benefits of being able to connect multiple hoses or watering devices to a single tap. With these tips in mind, you’ll be well on your way to a more efficient and effective garden watering system.

